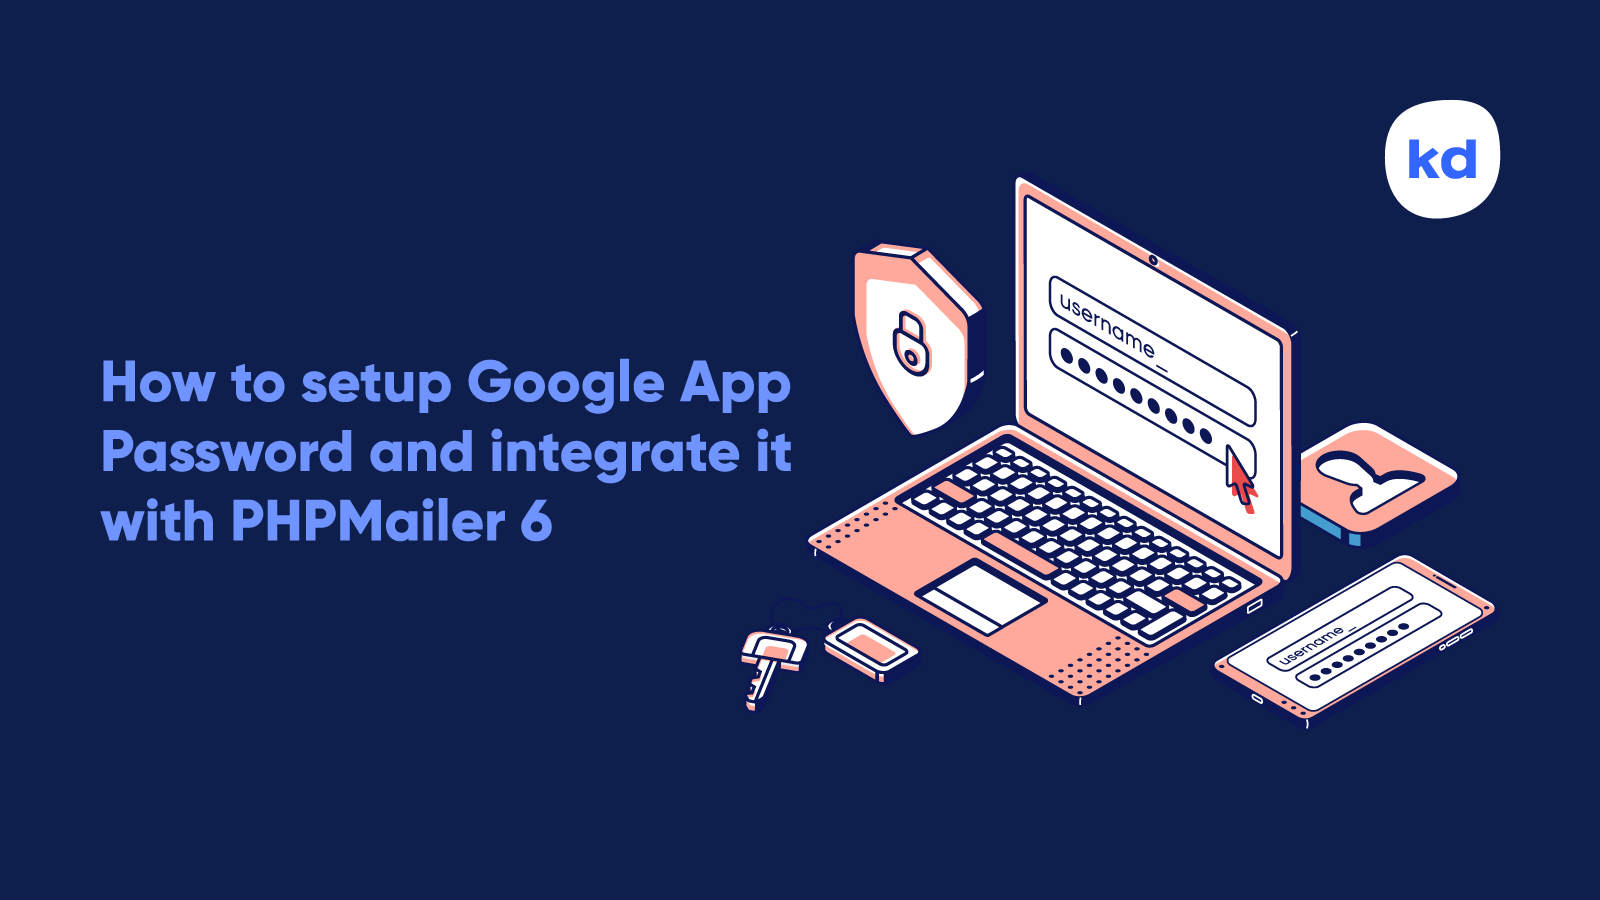
Google App Password or often called application-specific password, is a 16-digit alphanumeric code that lets you sign in to your Google Account from apps on devices that don’t support 2-Step Verification. With app password enabled, you nevermore have to disclose your primary account password. App Passwords can only be used with accounts that have 2-Step Verification turned on.
Here is the stepwise guide for creating an app password so that you can successfully integrate it with PHPMailer to send and receive emails on your server.
Step 1. Login to Google Account
Go to myaccount.google.com (if not signed in, you will be asked to sign-in to your account).

Step 2. Enable 2-Step Verification
First, you have to enable the 2-Step Verification on your account before you set up the app password.
Click on the Security tab on the left-hand side to go to the Security page and within the section Signing in to Google click on 2-Step Verification.

Click on Get Started and on the next page enter your password to verify your account and hit Next.

Now you have to set up your phone. Enter the phone number you want to use for verification and then select the method to receive your code. It may be a Text message or a Phone Call. I will keep it a Text message and hit Next.

Google will send you a text message with a verification code. Enter the verification code & hit Next.

On the next page, Google will confirm that the 2-Step Verification is ON. Now click the back arrow next to the heading to go back to the Security page.

Step 3. Setup Application password
Within the section Signing in to Google, you will notice a new option that says App passwords.

Click on App passwords and verify your account. After verification, you will be able to create the app password for any app and device.

Now, select Mail from Select app and Other (custom name) from Select device and provide it a name. You can name it anything you like, I will name it PHPMailer and hit Generate.

Now you have successfully generated your app password. Copy this code and paste it somewhere safe, until you haven’t added it to the PHP script.
Remember, don’t share it with anyone.
App passwords are a security risk, so you should keep them safe and revoke application-specific passwords you no longer use. Be careful with them, and treat them like the master passwords to your account that they are.
– Important Note

You have successfully generated the app password now let’s use it with PHPMailer script.
Step 4. Integrate with PHPMailer
Below is the simplest example showing how to use the app password with PHPMailer.
<?php
  // Import PHPMailer classes at the top
  use PHPMailer\PHPMailer\PHPMailer;
  use PHPMailer\PHPMailer\SMTP;
  use PHPMailer\PHPMailer\Exception;

  // Load Composer's autoloader
  require 'vendor/autoload.php';

  // Instantiation
  $mail = new PHPMailer(true);

  // Server settings
  $mail->isSMTP();
  $mail->SMTPDebug = 0;
  $mail->Debugoutput = 'html';
  $mail->Host = 'smtp.gmail.com';
  $mail->SMTPAuth = true;
  $mail->SMTPSecure = 'tls';
  $mail->Port = 587;
  $mail->Username = 'ENTER YOUR GOOGLE ACCOUNT EMAIL';
  $mail->Password = 'ENTER YOUR APP PASSWORD HERE';

  // Sender & Recipient
  $mail->From = 'ENTER YOUR GOOGLE ACCOUNT EMAIL';
  $mail->FromName = 'SENDER NAME';
  $mail->addAddress('RECIPIENT EMAIL');

  // Content
  $mail->isHTML(true);
  $mail->CharSet = 'UTF-8';
  $mail->Encoding = 'base64';
  $mail->Subject = 'Subject';
  $body = 'This is a test message';
  $mail->Body = $body;
  if ($mail->send()) {
    echo 'Success Message';
    exit();
  } else {
    echo 'Error Message';
    exit();
  }
?>
After configuring PHP Mailer properly, you would be able to send and receive emails from your website uninterrupted to the inbox. No spammy emails anymore!
However, if you have any questions or want me to help you with the coding part, leave a comment below and I will get back to you. I hope this article may have helped you, If so please like and spread the love.